
I'm slowly but surely getting better. I feel better today than I did yesterday or he day before. That's a good thing.
While I didn't have the energy to do any scrapbooking today I was inspired with an interesting way to emboss and since Studio Calico is now selling Zing! embossing powder I figured I would share it here. It only took about 5 minutes to complete this technique.
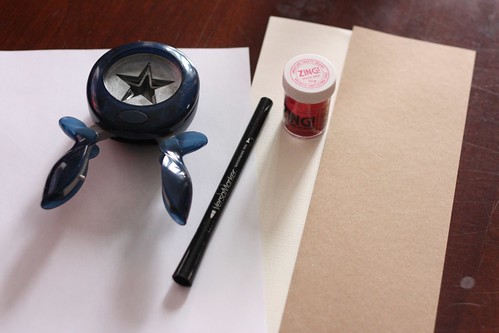
For this technique I used: Fiskars star punch, red Zing! embossing powder by American Crafts, Versamark pen, and a few scrap papers.
While I didn't have the energy to do any scrapbooking today I was inspired with an interesting way to emboss and since Studio Calico is now selling Zing! embossing powder I figured I would share it here. It only took about 5 minutes to complete this technique.
For this technique I used: Fiskars star punch, red Zing! embossing powder by American Crafts, Versamark pen, and a few scrap papers.
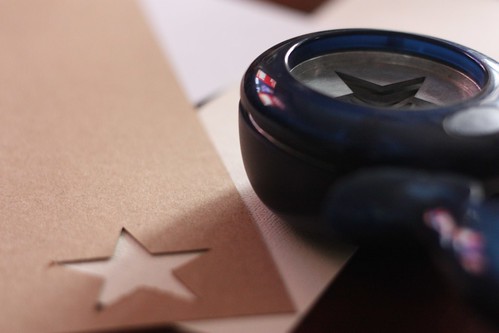
First I punched a star out of the kraft scrap paper. I really just wanted the negative image.
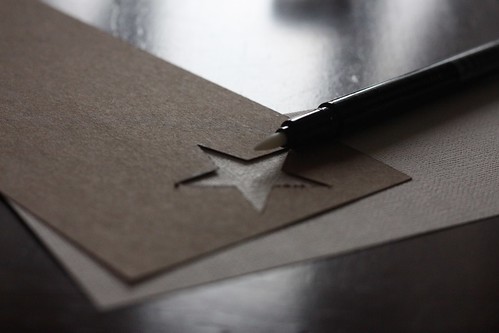
Then I placed the negative on my cream cardstock and 'coloured it in' with the versamark marker. (You could also use the versamark embossing pad and pressing it down over the image if you were stuck).
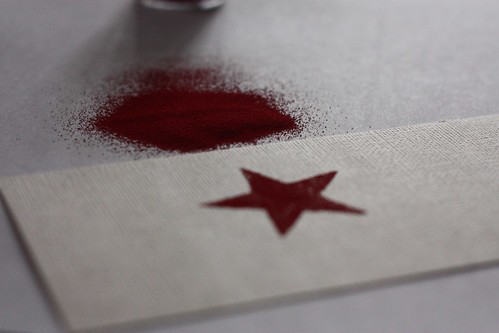
I pulled the negative away and covered the 'coloured' image with Zing! embossing powder.
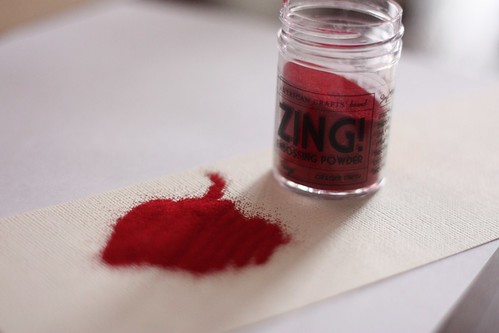
Then I tapped the excess off onto a sheet of plain paper leaving behind the image.
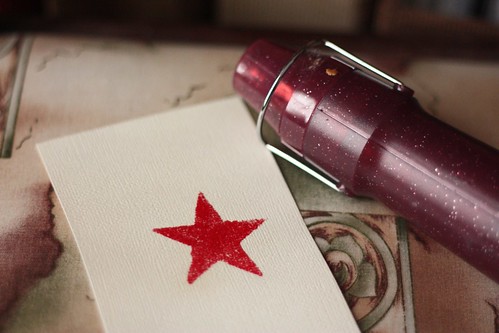
Then I just embossed the image with my heat gun.
You could use this technique with any of the punches in your stash! Here's another shot of a tiny heart and butterfly embossed image with the same technique.
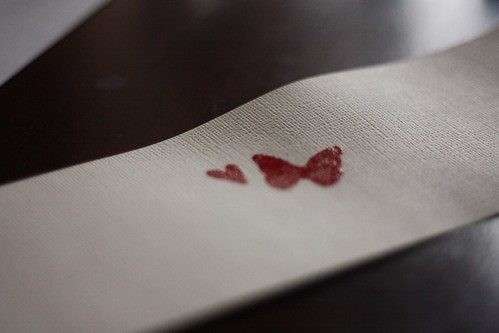
It makes for another way to use your embossing powder and punches!
xoxo
K
I agree with Lisa. I have to give this a whirl.
ReplyDeleteI will be trying this idea soon! Thanks for sharing it!!!
ReplyDeleteawesome tutorial. i definetely will try this. i not often use embossing powder but your tut gives me new inspiration :) TFS
ReplyDeletegreetings from germany
Felicitas