
It took us three trys but we've finally gotten it right. Just goes to show that every DIY does not always go as planned despite what you see on the internet.
Try #1: Chalkboard Wall.
I was so excited to try this. I had visions of creating a menu when we had friends over for dinner-which happens often btw. And of course, messages left from said friends, etc.
So, I painted it. Left it for a few days as instructed. Chalked it up & then wiped it down.
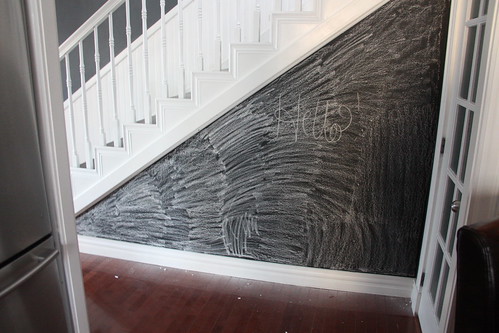

And wiped it down. And wiped it down. And wrote on it. And wiped it down. The darn thing never came clean. I'm not sure if it was the texture of the wall or what but it just looked dirty all the time.
Fail.
Try #2: Stencil.
I used my silhouette to create a stencil of Eugene, or a cocker spaniel. I had a vision. I tried it out using some plain white paint.
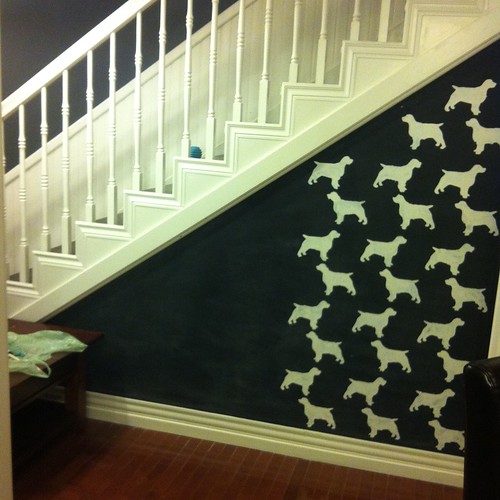
The stencil was too big and too close together. Not to mention that it wasn't nearly as crisp as I wanted it to be.
Fail.
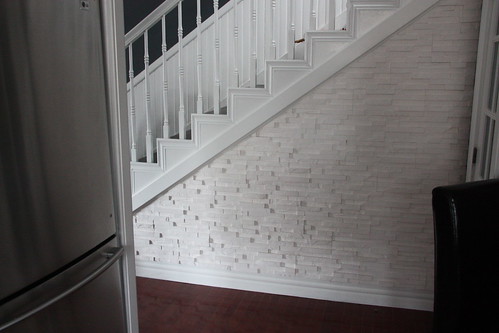
Try #3: White faux-brick.
For the win.
So during a Saturday expedition to Kent we found this faux-brick material that's actually made of plaster. That makes it super easy to cut. So after hemming and hawing about it we grabbed three boxes and put them to work.
Four hours later, a lot of chalk & a decent amount of caulking we had ourselves a wall. We sprayed it down with a never-wet Rustoleum product to seal the plaster so it wouldn't crack or rub off.
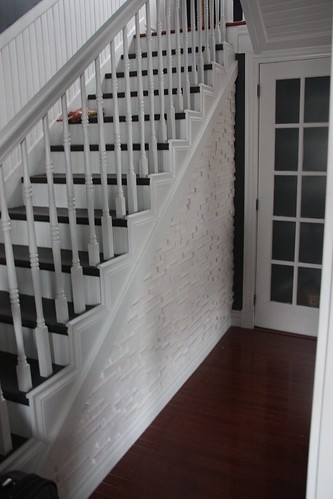
And a little close up-
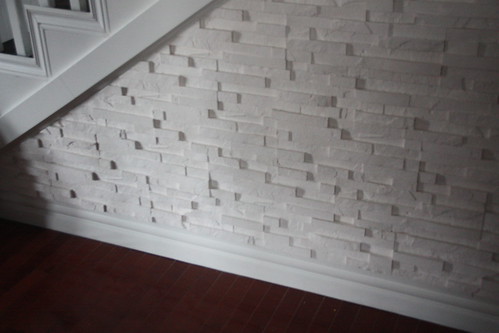
And we are in love.
So naturally we upgraded the fixtures in the hallway too.
This was what we had up.
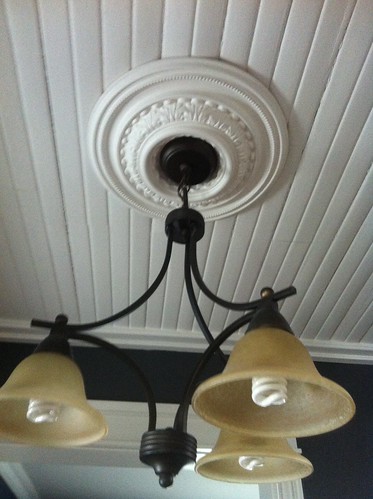
They were here when we moved in and while I have always liked the wrought iron I'm not a fan of the yellow-y lampshades.
So, we went modern with orbs.
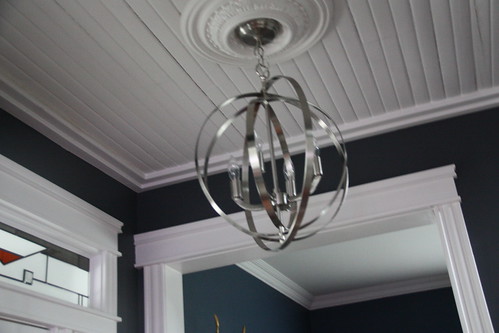
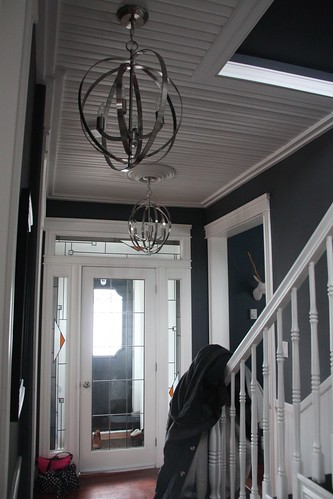
Aren't they the most amazing? I love the orbs. They are simply awesome and take the whole hallway up a whole other notch!
xoxo
K
awesome wall and love the orbs!
ReplyDeleteLove the light fixtures!
ReplyDelete